How to Take Acne Progress Pictures You Can Actually Compare
By the Acnera Team (how we write) · Updated · 5 min read
Acne progress pictures only work if every photo is taken the same way. Same light, same angle, same distance, same time of day. Change any one of those and the photo mostly shows the change in lighting.
That matters because acne improves slowly. The American Academy of Dermatology says it takes at least 6 to 8 weeks before you start to see fewer breakouts on a new treatment. Day to day, you will barely notice the change. Good photos are how you find out whether a treatment is working before you give up on it.
The short answer
- Face a window in daylight, or use the same indoor light every time. No flash.
- Hold the phone at eye level, at arm's length, with your face filling the same part of the frame.
- Take three angles: front, left side, and right side.
- Shoot at the same time of day, before applying skincare or makeup.
- Repeat every few days, and compare week 0 against week 6 or 8, never yesterday against today.
Why most before and after photos lie
Dermatologists take standardized photos for exactly this reason. A guide to photography in procedural dermatology puts it simply: reproducing the settings of the "before" photo is what allows an accurate comparison. Their standards cover the room, the camera, the person taking the photo, the patient's position, and the framing.
At home, these are the variables that fool people most:
- Light direction. Overhead bathroom light casts shadows into every bump and makes texture look worse. Light from the front softens it, even though your skin hasn't changed.
- Light color. A warm lamp at night and cool daylight in the morning change how red your skin looks.
- Distance. A closer phone makes everything look bigger, including spots.
- Angle. Tilting your head a few degrees changes which bumps catch the light.
- Skin state. Right after washing, exercising, or picking, skin is redder than usual.
How to take acne progress pictures
Pick one spot and one time
Choose a place you can stand every time, ideally facing a window in daylight. Morning, before skincare, works well because your skin hasn't been rubbed, cleansed, or covered yet. If you have to shoot at night, always use the same light, and turn the overhead light off if it casts harsh shadows.
Frame it the same way
Hold the phone at eye level and arm's length, or prop it on a shelf so the distance never changes. Pull your hair back. Keep a neutral expression, since smiling stretches the skin on your cheeks.
Take the same three angles
- Front: hairline to chin, both ears visible if you can.
- Left and right: turn until your nose lines up with the edge of your cheek. These catch jawline and cheek acne that front photos miss.
Add a close-up of your worst area if you like, but always shoot the wide photos too. Close-ups exaggerate everything.
Turn off filters and beauty modes
Many phone cameras smooth skin automatically. Use the plain camera, and turn off portrait or beauty modes, so the photo shows what is actually there.
How often to take them
Every three to four days is enough. Daily photos are fine if it is easy for you, but don't compare one day with the next. Acne fluctuates, and a single bad day says very little.
The comparisons that matter:
- Week 0 vs week 4: an early check, especially if you started a retinoid and suspect purging.
- Week 0 vs week 6 to 8: the real verdict on most treatments.
- Month to month after that, to see whether you are holding steady or slipping.
Dark marks left by old spots fade much more slowly. The AAD says a spot a few shades darker than your skin usually fades within 6 to 12 months, so judge those on a longer timeline than active breakouts. Our acne timeline guide covers what to expect when.
How to compare acne progress pictures
Put two photos side by side, or flick between them at the same zoom. Then check these, one at a time:
- Count, don't vibe. Clinical trials judge acne treatments by counting lesions. For example, a 2007 diet trial measured success by the change in total lesion count. Count new red bumps in each area: forehead, each cheek, nose, chin, and jawline.
- Look at size and redness, not just number. Fewer large, angry spots is progress even if small ones remain.
- Check where new spots appear. New areas can point to a new product or trigger.
- Separate active acne from marks. Flat brown or pink marks are healing, not new breakouts.
Make it automatic
The hardest part of progress photos is remembering to take them the same way every time. Acnera handles that part: the AI scan gives each photo a skin score and a zone-by-zone breakdown, and the comparison view lines up face-aligned photos with a slider or side by side, so you compare the same face at the same angle.
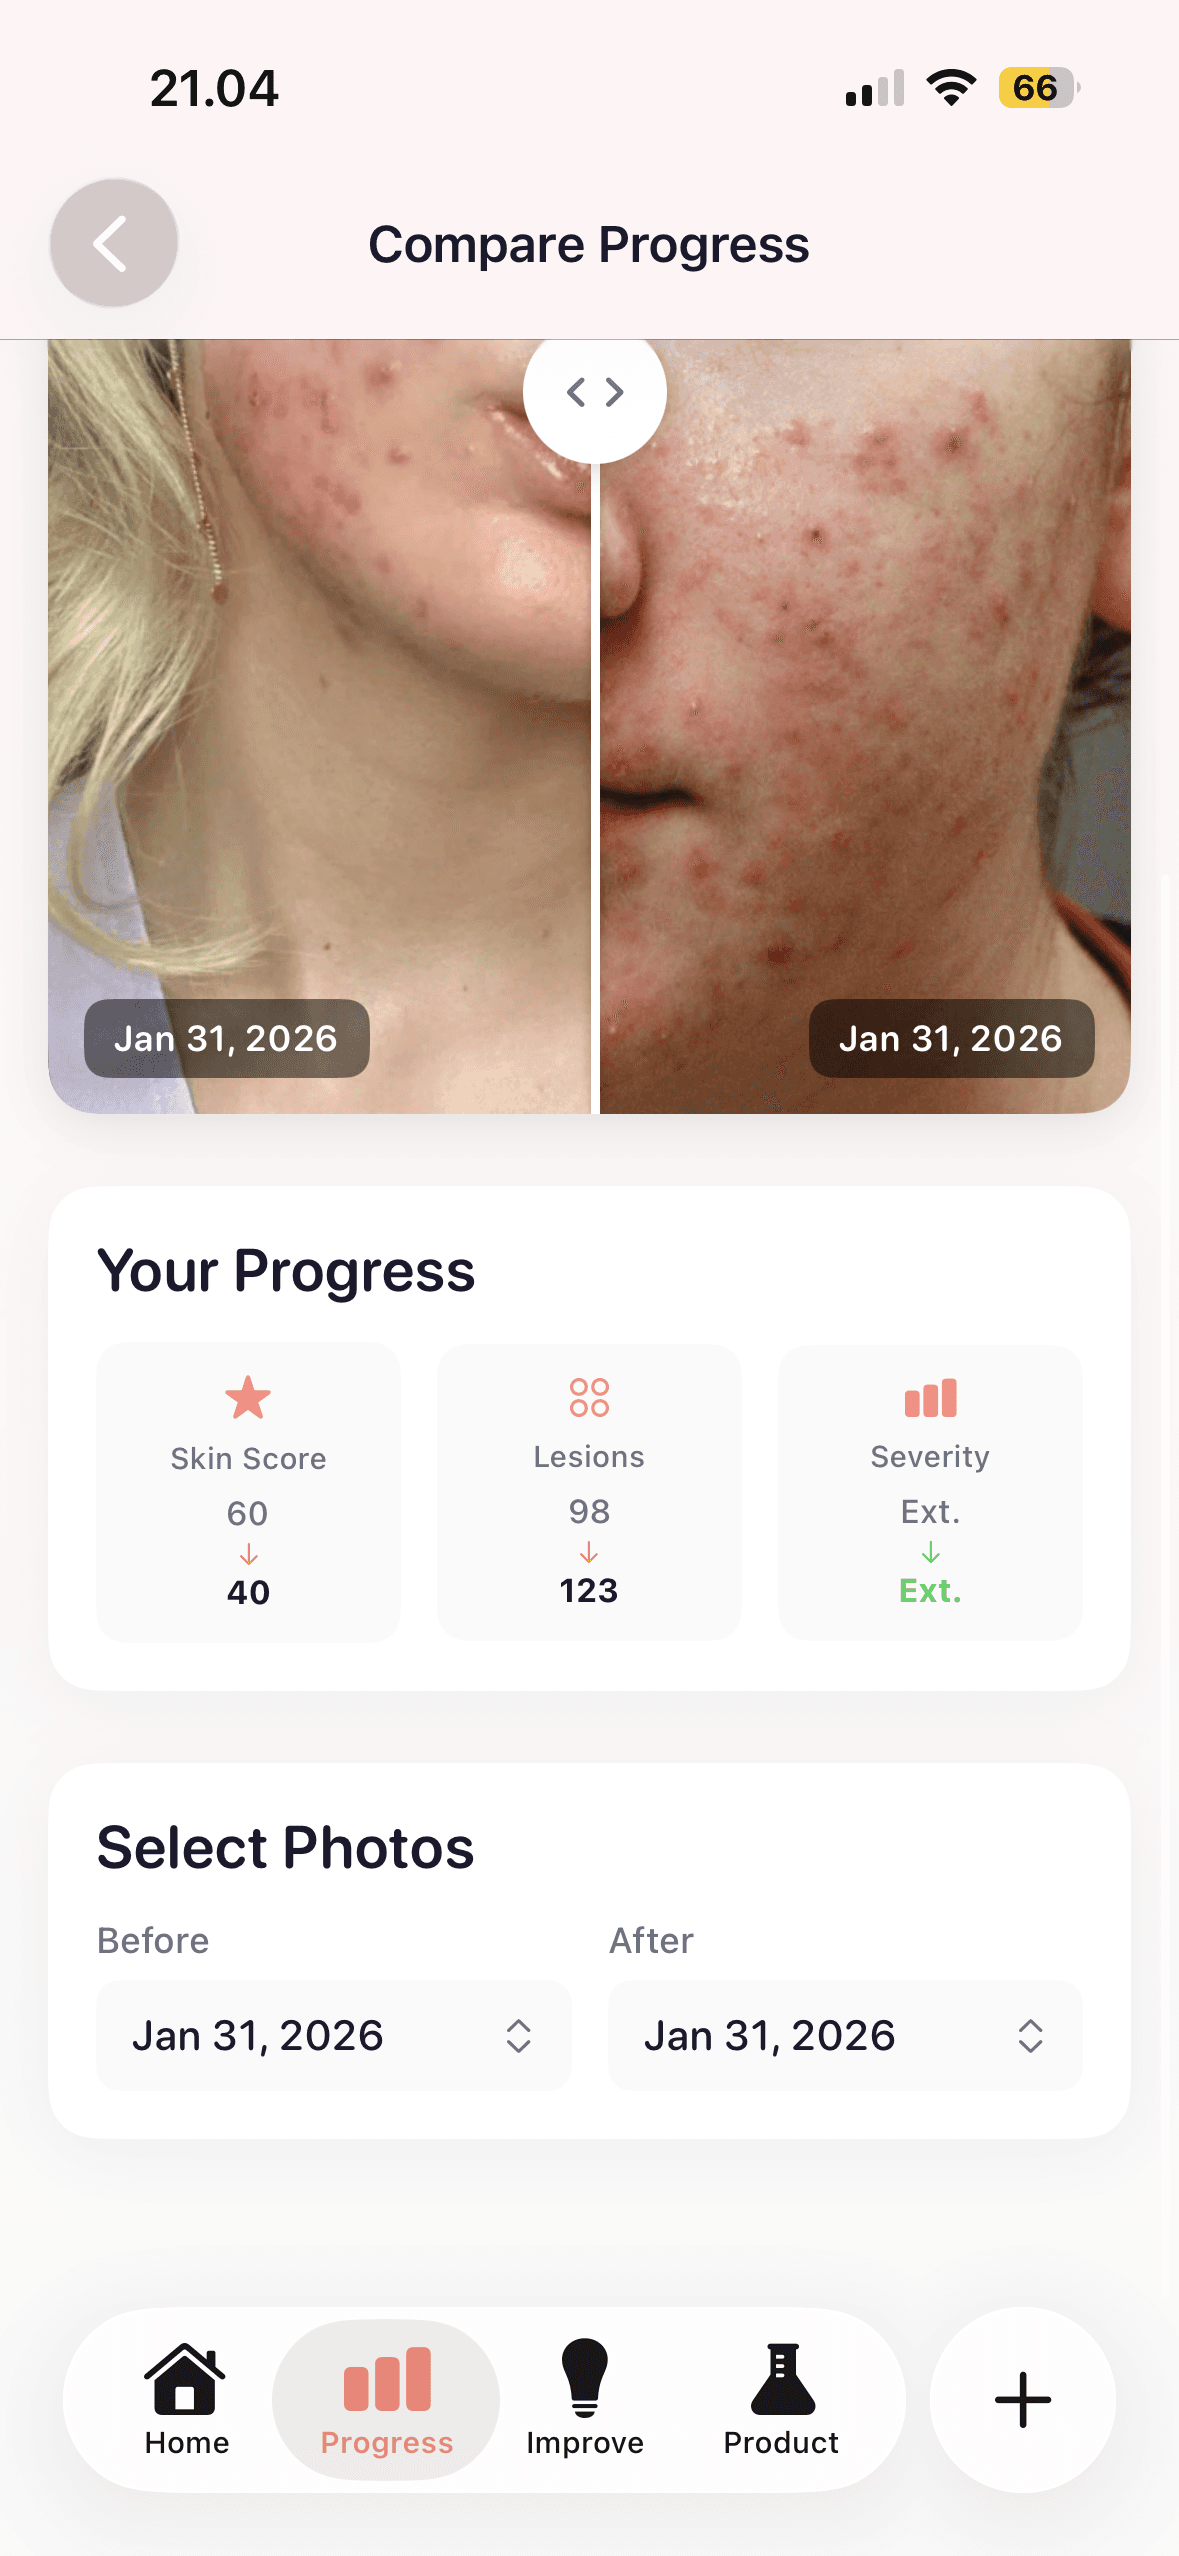
Pair it with a daily check-in for sleep, stress, and your cycle, and your photos can also show why your skin is changing.
Frequently asked questions
How often should I take acne progress pictures?
Every three to four days is plenty. Compare your first photo with ones from six to eight weeks later, since that is how long most acne treatments take to show results.
What is the best lighting for acne photos?
Soft, even light from the front, like facing a window in daylight. Avoid overhead light, which casts shadows into bumps, and avoid flash. Most importantly, use the same light every time.
Should I take progress photos with or without makeup?
Without. Take them before applying skincare or makeup, ideally at the same time each morning, so your skin looks the same way in every photo.
How do I compare acne before and after photos?
Use photos taken in the same light, angle, and distance. Count new red bumps in each area of your face, compare the size and redness of spots, and separate active acne from flat dark marks, which fade more slowly.
Why does my acne look worse in some photos?
Lighting, distance, and angle change how acne looks. Overhead light and close-ups exaggerate texture and redness. Keeping your setup identical is the only way to know whether your skin actually changed.
How long until progress photos show a difference?
For most treatments, expect 6 to 8 weeks before you see fewer breakouts in your photos. Dark marks can take 6 to 12 months to fade.
This article is for general education and isn’t medical advice. If your acne is severe, painful, scarring, or not improving, see a board-certified dermatologist.